Feb
Granite Installation Process: Steps To Follow When Installing Granite Countertops
Granite countertops come with plenty of perks. They transform your kitchen, they are durable, among many other things. If you want to install the countertops in your home, there are two ways you can go about it: hire granite installers or do it yourself.
If you are a dab hand at DIY projects, you can do the work yourself and by so doing you save money and install the countertops in your preferred manner. Is this your first time installing the countertops? Here is the granite installation process you should follow:
Get the right measurements
Begin with determining the size and shape of granite you need to complete your project. A great way to do it is to use craft paper or cardboard to create a template that you will visit the granite stores with.
Trace around the existing countertops and cut away any excess material to make an exact template. When doing it, mark any spots where you will need cuts such as the sink.
Don’t be in a hurry when taking the measurements. Take your time to ensure you get precise measurements.
After knowing the size of the granite you need, the next thing is to determine the size of the overhang you want for your countertops. An ideal granite overhang should be 1.5 inches. Avoid an overhang larger than this, as it will require you to install steel braces to support it.
The braces are complex to install and will eat up on your budget.
After taking the measurements, adjust your template to include the additional measurements of the kitchen overhang.
With the measurements in place, now head to the stores and choose the granite you want for your home. Granite is natural, so it comes in different colors and designs. It’s up to you to choose the right one for your home.
When making the purchase, avoid buying from the big box stores as they sell their products at inflated prices and often don’t have a wide selection of slabs to choose from.
Before you make the commitment to buy large slabs, first take a piece of the slab with you at home and see how it blends with the rest of the house. Only buy a larger slab if you like how the slab looks in your house.
Prepare the surfaces for installation
Now that you have your desired slab, now it’s time to install it on your surfaces. Unfortunately, you can’t install it on dirty surfaces so the first thing to do is to clean your countertops so they are free of grease, oil, dirt, and other materials.
If you had installed countertops before, remove them so you have a clean surface to work with.
Once the countertops are clean, put down plywood for the granite counters to rest on. For best results, ensure the plywood has the same measurements as the template.
Attach the plywood to the countertop cabinets and secure them with screws. Also, waterproof the plywood to keep it from swelling when it comes into contact with water.
Lay the granite slab
Lay the granite slab in place. In most cases, you will need one slab, but if your kitchen is large, you may need to lay several pieces. If this is the case, epoxy the seams to cement the pieces together. You should then use a razor blade to skim off any excess epoxy that might be left behind.
You should then secure the granite slab to the cabinets using bond block attachments. This is to keep the granite from moving around or shifting during normal usage.
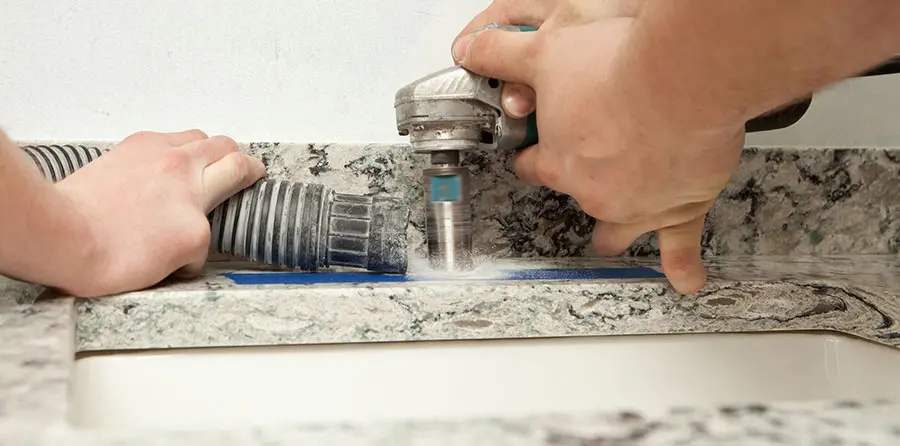
If you have a special cooktop or sinkhole, you may need to make additional cuts. Use a wet saw to accomplish this.
Install the sink and cooktop
After making the cuts, install the sink and cooktop. Place the sink in the cut and ensure it fits properly. To secure it in place, use a bead of caulk around the sink edge where the sink rests on the granite.
It’s also wise to apply a bead caulk around the underside of the sink.
Finish the countertop
To complete the look, remove any caulk, dust, or epoxy on the countertops. You also should clean the counters and seal them.
The duration of the granite installation process depends on the size and complexity of the job. For a small project, it can take you 2-3 hours, but larger and more complex projects can last for up to 7 hours.
You save money and have an easy time customizing the countertops to your liking when you install the countertops by yourself, but if you find it complex or you don’t have the skills, let a granite contractor Rockville help you out.